The Wiki for Tale 7 is in read-only mode and is available for archival and reference purposes only. Please visit the current Tale 11 Wiki in the meantime.
If you have any issues with this Wiki, please post in #wiki-editing on Discord or contact Brad in-game.
Otter Guide
About Otters
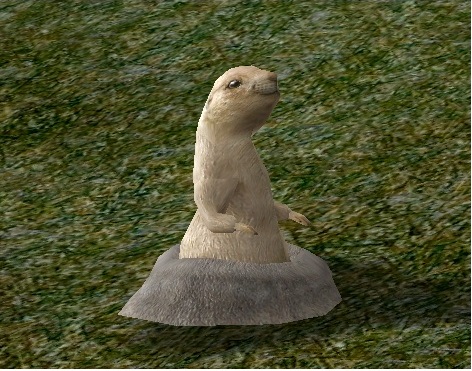
| This is an otter.
Otters are your friends. Though they are tricky and clever, everyone can catch otters using simple logic and just a bit of patience. This guide will tell you everything you need to know to begin catching otters yourself. |
|---|
Otter Holes
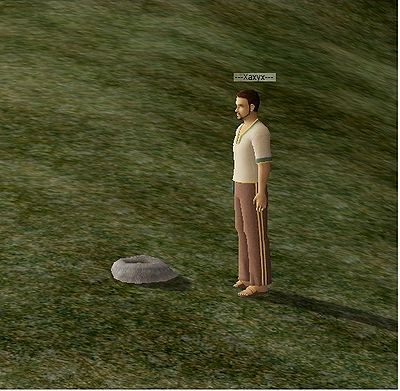
| Otters live in networks of otter holes.
Otter networks always consist of exactly twelve holes. Otters and their networks can be found pretty much anywhere in Egypt. If you come across an empty otter hole, then there should be another eleven holes nearby -- and one otter. Otter holes look similar to piles of silt. Silt will always be found somewhere near water. But otter holes can appear even in the deepest deserts. |
|---|
Otter Networks
| Your goal is to successfully grab the otter. When you try to grab her, however, she will taunt you, and then dive into her hole, only to reappear at another hole in her network.
The otter is able to escape like this because each of the holes in her network is connected via underground tunnels to several other holes. This labyrinth of tunnels is structured as follows: - One of the holes in the otter's network is connected by tunnels to exactly THREE other holes. - The other eleven holes in the otter's network are each connected by tunnels to exactly FOUR other holes. So for most holes, the otter has four escape routes. But for one hole, there are only three escape routes. But with so many options, and so complex a maze, how can we possibly catch her? |
|---|
Blocking Holes
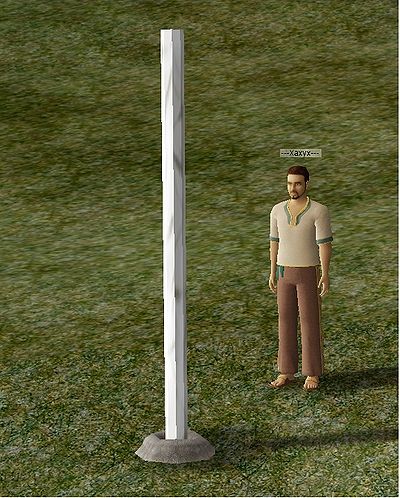
| Using boards, we can block otter holes. if a hole is blocked by a board, then the otter cannot appear in that hole.
However, we can never block more than three of the holes in an otter's network. If we try to block a fourth hole, the otter will eat one of the boards! Nevertheless, three boards is sufficient for figuring out how an otter's network is interconnected, and eventually cornering and grabbing the otter. |
|---|
Building a Map
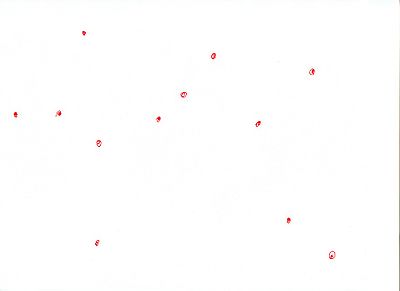
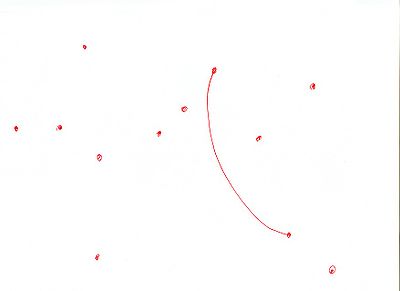
| Our first goal should be to map out all twelve otter holes. Take a blank piece of paper and a pencil, and plot out a grid of how the otter holes are arranged. The drawing doesn't have to be to scale. It just has to match how the otter holes are arranged on the screen.
You can use sand and mud piles to mark holes as well, to make them easier to find, or even to identify them specifically. |
|---|
Tracking the Otter
| Now we're going to start figuring out how the holes are connected in the otter's maze. As we noted earlier, each hole is connected to either three or four other holes in the network. By chasing the otter, we can learn how these holes are interconnected, and add these connections to our map.
In this example, I tried to grab the otter at one of the holes in the bottom right, and she ran to the hole in the top center. So I drew a line connecting the two holes. Now I know one of the escape routes for the otter from each of these holes. |
|---|
Building a Network
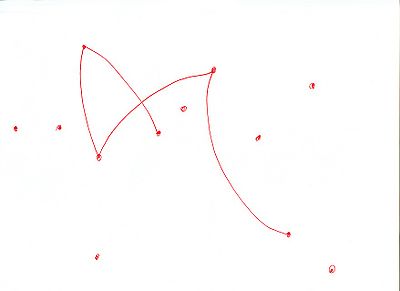
| By continuing to chase the otter around her own network, we can learn more and more about how the holes are interconnected. Each time the otter appears at a new hole, we can add a new connection to our map. Don't worry, we probably won't have to map out every single connection in the network.
Sometimes, when we try to grab an otter, she'll want to double back to the hole she came from, using a connection that we already know about. To prevent this from happening, we can use a board. Put a board in the hole that the otter came from, and she can't double back to that hole. She'll have to use a new escape route instead, and we'll learn more about her network. Just remember -- you can't have more than three holes blocked, or the otter will start eating your boards! So you might want to remove boards from holes after you're done blocking them. |
|---|
Cornering the Otter
| As we gain more information, and our map grows in complexity, we'll eventually find ourselves in a fun situation. The otter is in a hole, and on our map, there are three escape routes already drawn from that hole. In this case, we'll want to take all three of our boards, and block each of the holes that we know the otter could escape to. Then we try to grab the otter.
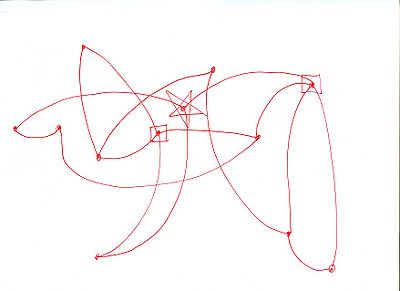
When we do, one of two things will happen: 1) This hole has a fourth escape route, which the otter uses to escape to another hole. We add this route to our map, and continue chasing the otter. -OR- 2) This was the hole that had only three escape routes. Since we blocked all three escape routes with boards, the otter has nowhere to go. So we've caught the otter! On my map, you can see two locations (with boxes around them) where there were four escape routes and the otter escaped. You can also see the location in the center (with a star around it) where there were only three escape routes, allowing me to grab the otter. |
|---|
The Moment of Glory
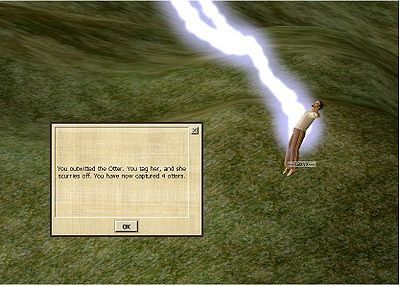
| With a firm understanding of hole networks and otter behavior, everyone can consistently and reliably catch otters. Be patient, be consistent -- and have fun! |
|---|
