The Wiki for Tale 6 is in read-only mode and is available for archival and reference purposes only. Please visit the current Tale 11 Wiki in the meantime.
If you have any issues with this Wiki, please post in #wiki-editing on Discord or contact Brad in-game.
Difference between revisions of "Coupe à vin"
m (moved Coupe à vin to Wine Glass/fr) |
m (moved Wine Glass/fr to Coupe à vin over redirect) |
(No difference)
| |
Revision as of 15:37, 11 June 2014
| English | Deutsch | français | magyar | Türkçe |
 |
Page Principale | Bâtiments | Ressources | Guides | Epreuves | Compétences | Technologies | Cueillette |  |
La Coupe à vin
La Coupe à vin est utilisée sur une Table cérémonielle de dégustation pour boire du vin.
Elle permettra, selon sa qualité, d'identifier différentes saveurs. C'est pourquoi une table de dégustation utilise généralement des qualités de coupes différentes de 1K à 9K au lieu de 7 coupes de qualité 9000+.
Elle est soufflée dans un Four de réchaud à partir d'une Tige de verre précieux.
- Voir le guide sur la soufflerie pour l'utilisation du four à réchaud: lien sur le T3 en attendant le portage.
Guide de Shinjin
Un guide en provenance du Conte 2 anglais:
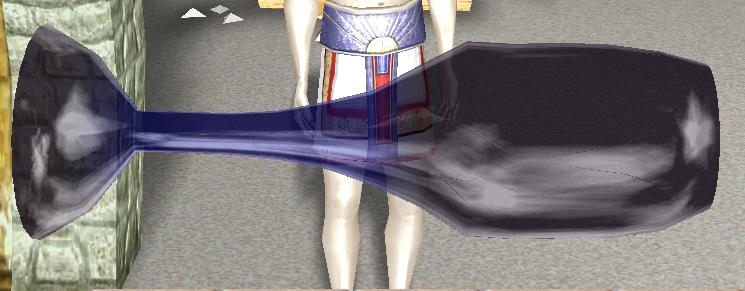
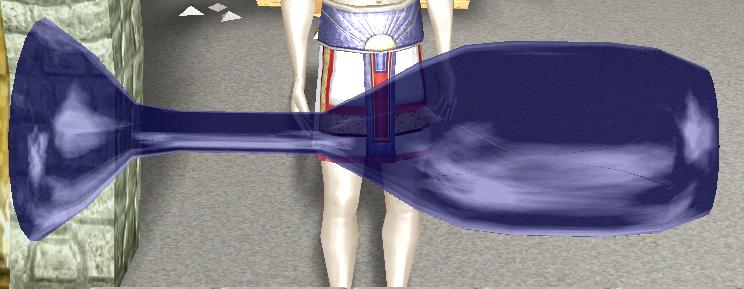
Here is a guide to making wine glasses using the Glory Hole. As of this writing I'm able to consistently make 7k quality glasses with a decent shot at 8k.
I like to use the F5 camera and position myself a couple feet inside the structure with the camera positiond on the other side so that I can see a couple of feet outside the structure as well. This gives a good view of the grey front edge of the Glory Hole which is the hotspot used to heat the glass as well as most of the inside where you will perform the final shaping.
When performing the initial heating, it's important to keep the glass spinning at a fairly constant rate. I've found that about two turns per heat tick (~1 sec) seems to work fairly well.
First you want to form the base. Move the rod in 1 click and let it heat up to yellow. Blow once and move it in one more click. When it gets yellow, blow twice. That's it for the base.
Immediately push the rod in so that the other end (what will become the mouth of the glass) is just inside the grey hotspot. Heat it up yellow and then proceed to pull the rod out and heat up 4 more sections of the rod to yellow. Move the rod back in a bit to keep the center 3 sections yellow and let the section on either side fade more to red (the mouth end will likely have already done so). Then push the rod all the way into the structure and blow 5 times.
That's it for blowing. You now rotate the glass so that anything that has sagged is now above the axis of rotation. Let it sit there until gravity pulls it closer to where it needs to be. During this stage I find it handy to check the quality frequently as I rotate it or let sag. Often you will see the quality go up as the piece droops closer to the goal and then go down as it droops past. Just rotate it above again and that should help. When you are satisfied with the quality (or time has run out), unload your beautiful new wine glass and prepare to experience faster Oenology point gain.
Don't be afraid to unload the piece before the full 60 second work time has expired. I've seen the quality of pieces drop dramatically.
Note: Wineglasses (likely all glassblowing products) cannot be named if over 9500 quality, unlike blacksmithing.
Example of a Quality 9308 Wine Glass from Pheanor-Re


