The Wiki for Tale 6 is in read-only mode and is available for archival and reference purposes only. Please visit the current Tale 11 Wiki in the meantime.
If you have any issues with this Wiki, please post in #wiki-editing on Discord or contact Brad in-game.
User:Obol/CarpBlades
Simple Guide to 7K Carpentry Blades
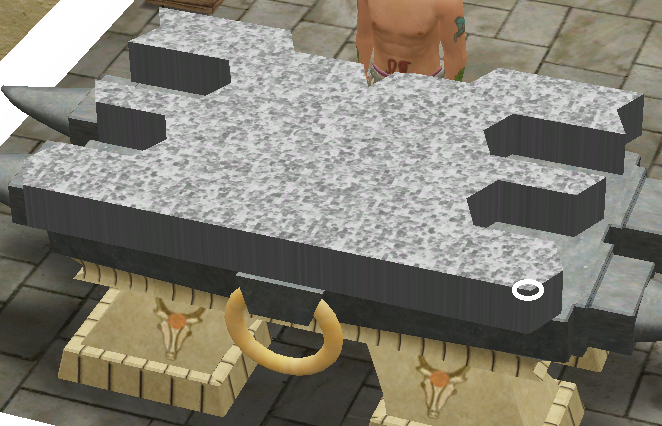
The 3 most important rules to using the anvil is the right tool, the right force and the right camera angle. If you follow these next photos, using those rules you can make carpentry blades with ease. I like to use the F5 camera and zoom out a little.
Start with this photo's camera angle and using the Shaping Mallet at force 9, hit the white circle on the front of blade.
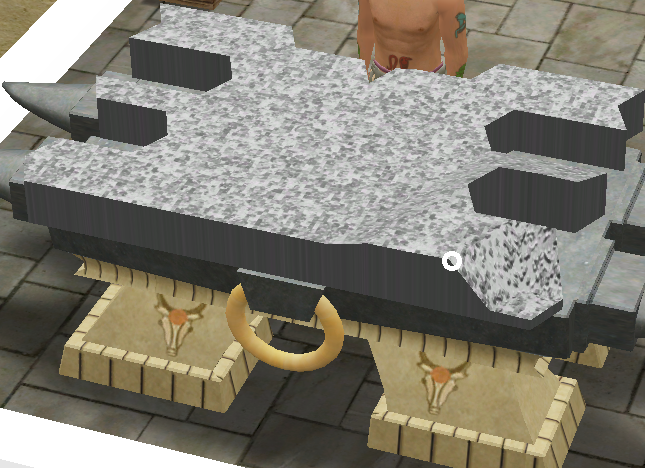
Still using the Shaping Mallet at force 9, hit the white circle at the top of the slope created by the first hit.
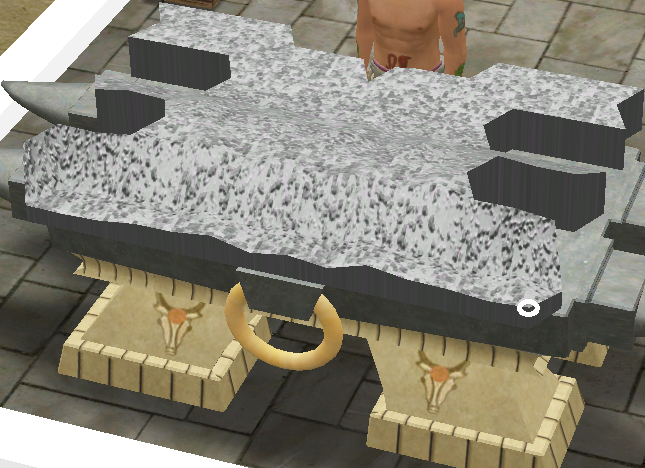
1. Still using the Shaping Mallet at force 9, continue hitting the top of the slopes created by the previous hits. Notice we are not concerned about the last part of the blade.
2. Change to Wide Chisel force 9 and hit the white circle.
Still using the Wide Chisel at force 9, continue hitting the top of the slopes created by the previous hits much like you did with the Shaping Mallet.
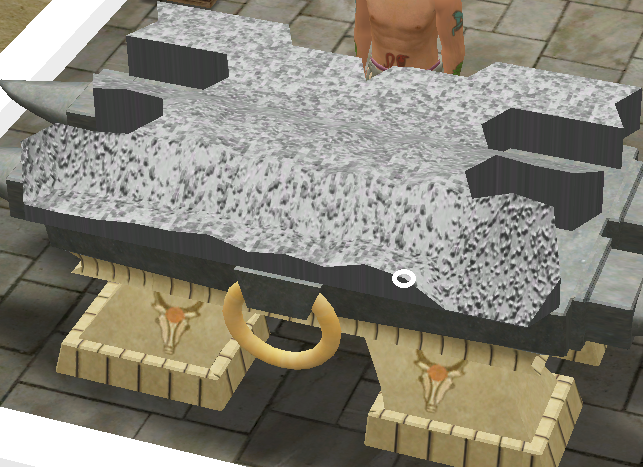
You should end up with the front of the blade looking something like this. This completes the front of the blade.
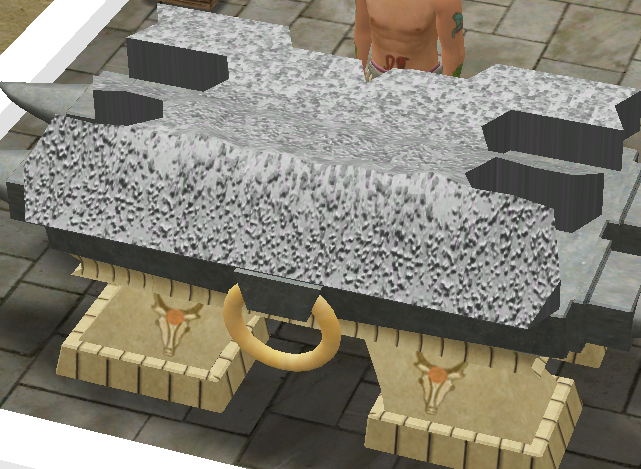
This step is optional, it may only add a few extra quality points.
1. Rotate camera and you should see 4 small bumps just behind the front of the blade.
2. Using Wide Chisel force 3 hit between the first and second bump.
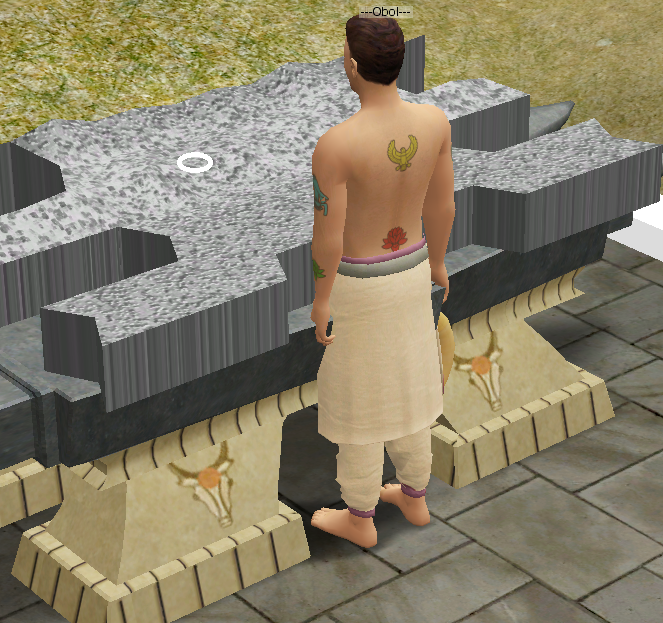
This step is optional, it may only add a few extra quality points.
1. Rotate camera.
2. Still using Wide Chisel force 3 hit between the third and forth bump.
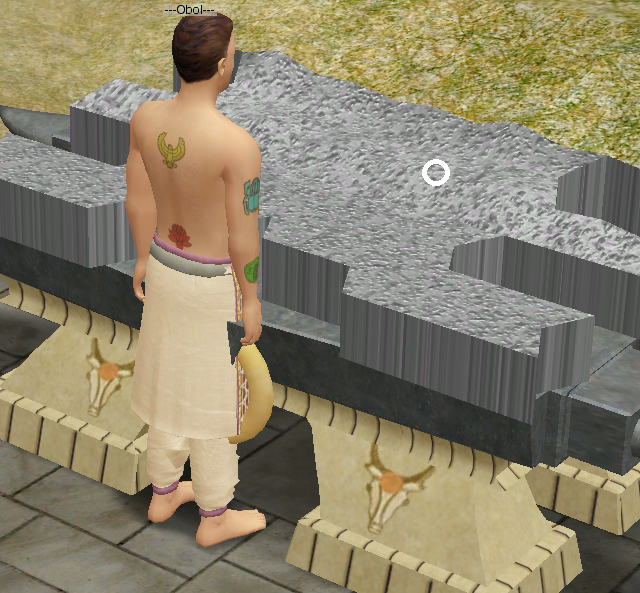
1. Rotate camera.
2. Use the Ball Peen force 9 and hit the 4 circles.
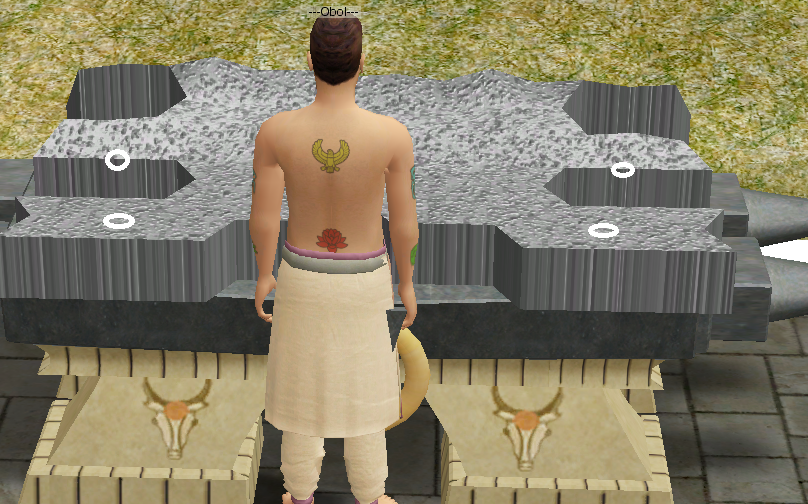
You should now have something looking like this. Notice the two deep holes created on the back wings of the blade.
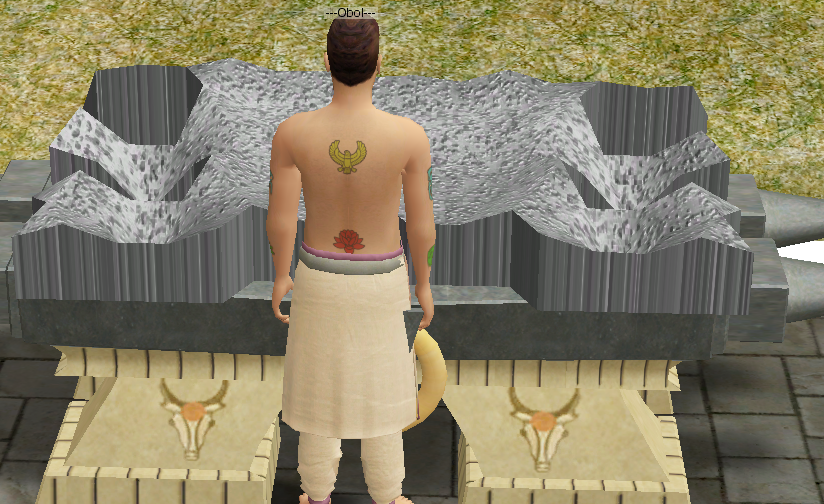
1. Rotate camera.
2. Still using Ball Peen force 9, hit the white circle on the inside of the back wall.
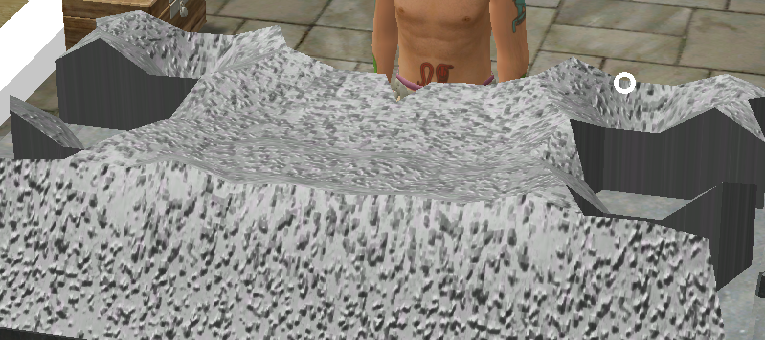
1. Rotate camera.
2. Still using Ball Peen force 9, hit the white circle on the inside of the back wall on the other side of the blade.
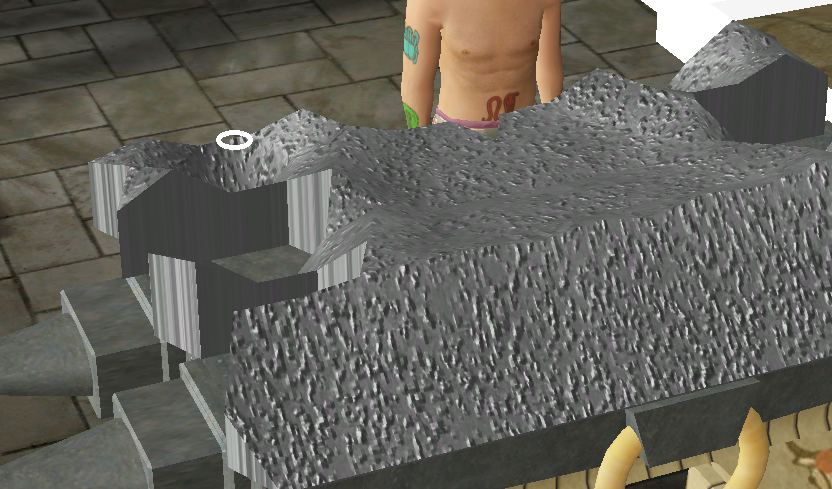
1. Adjust camera.
2. Using Shaping Mallet force 4, hit the white circles to knock down the ridges created by the deep holes.
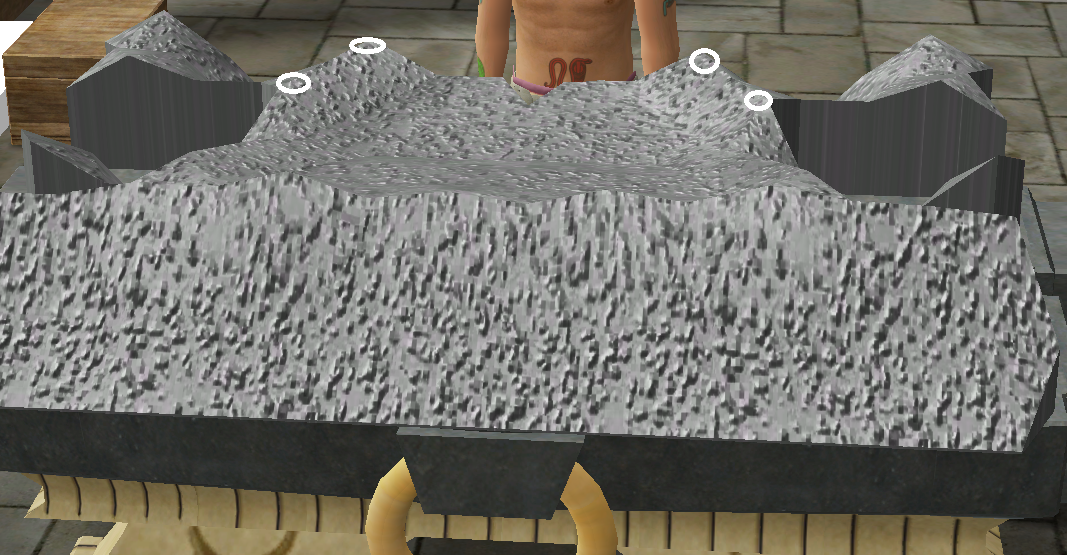
You will now repeat what you did to the back wings in order to raise the metal of the outer parts of the wings.
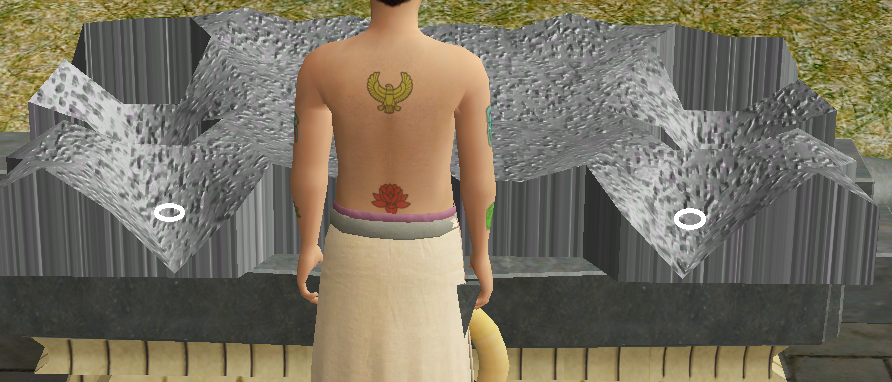
1. Adjust camera.
2. Using the Ball Peen force 9 hit the inside of the holes on the white circles.
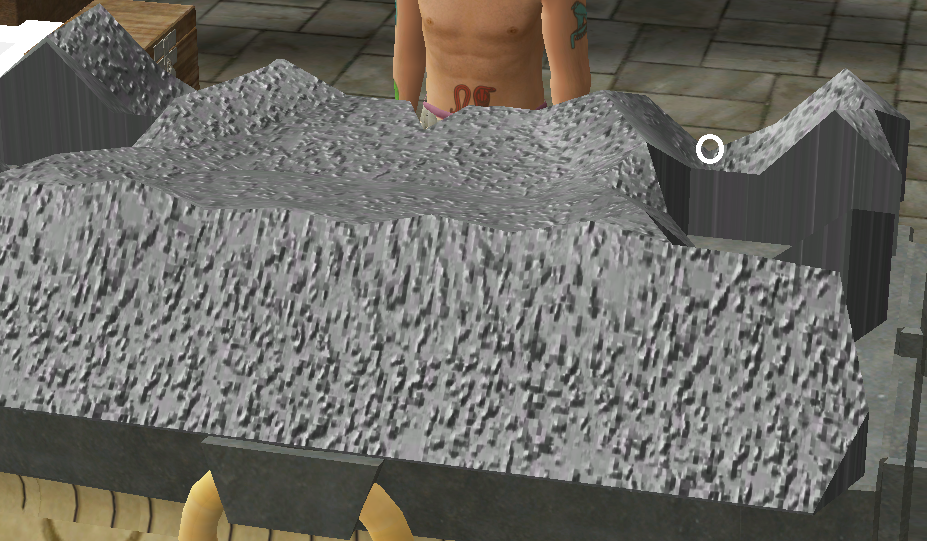
1. Adjust camera.
2. Still using the Ball Peen force 9 hit the inside of the back wall on the tip of the V shape.
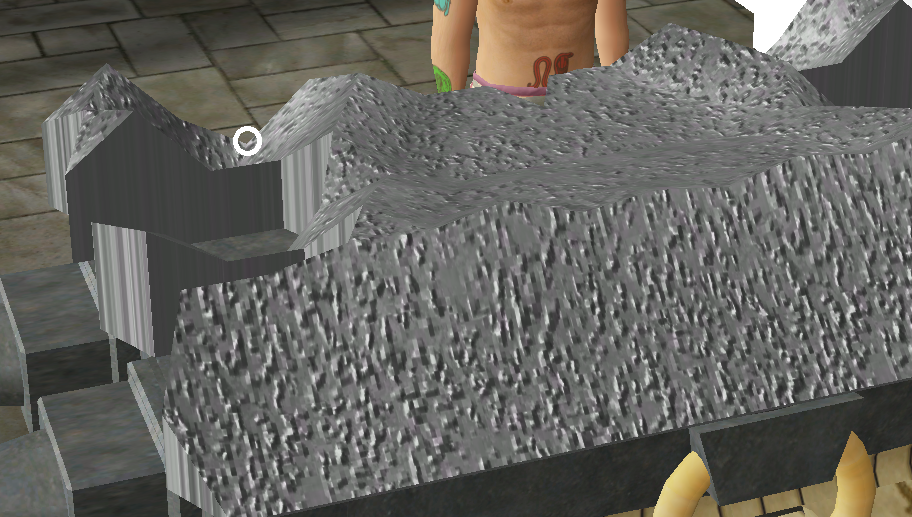
1. Adjust camera.
2. Still using the Ball Peen force 9 hit the inside of the back wall on the tip of the V shape on the other side of the blade.
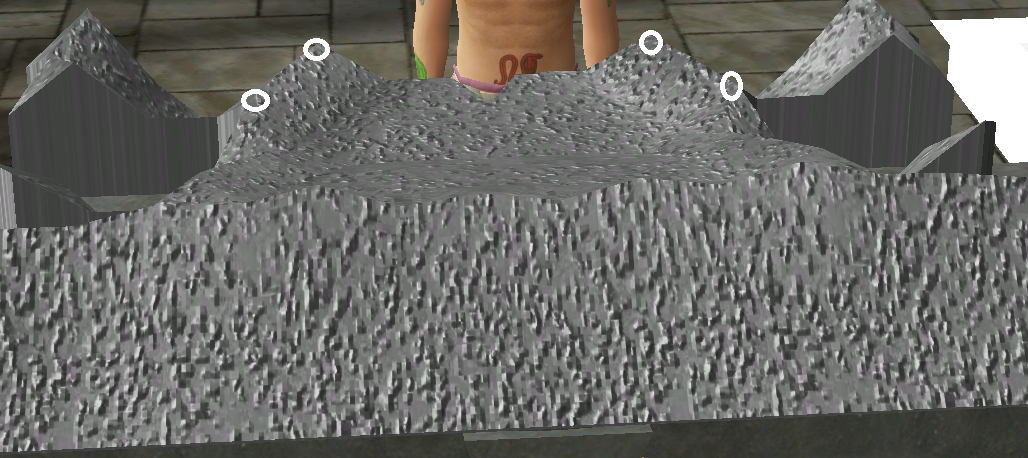
1. Adjust camera.
2. Using the Shaping Mallet force 4, hit the white circles to knock down the ridges again.
You should now have a carpentry blade of about 7K. Congratulations!