The Wiki for Tale 6 is in read-only mode and is available for archival and reference purposes only. Please visit the current Tale 11 Wiki in the meantime.
If you have any issues with this Wiki, please post in #wiki-editing on Discord or contact Brad in-game.
User:Safa/Guides/Otter
This is a simplified version of otter guides that already exist. Intended for virgin otter hunters!
I've been going through some tips and tricks to catch otters people wrote down recently. Seems like all the guides have long wall of texts and graphs that looks intimidating. A new player might think this is a complicated proccess but on the contrary its pretty simple and enjoyable.
Let's get started shall we?
Meet and Greet
|
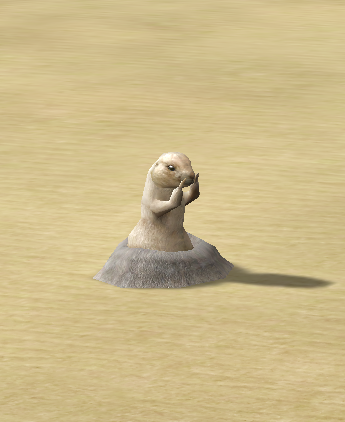
This is an otter. (from now on forward i'll be calling him Bob) Otters live in networks of otter holes which always consist of exactly twelve holes. To catch an otter, in this case Bob we have to find a hole with maximum of 3 escape routes. Because we can only board three otter holes at once. If more than three holes are boarded Bob will eat the extra boards until there is only three left. That jerk!
|
|---|
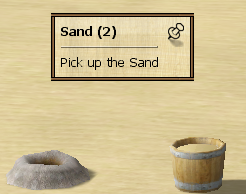
Labeling HolesHere comes the fun part. To find THE hole we can catch bob we must map escape routes for all 12 holes. For simplicity's sake im going to drop X amount of sand next to each hole. X will indicate their name. So the hole with 1 sand next to it is hole number 1. Hole with 2 sand next to is 2... goes on like this. You can also do this with 12 different kind of items if you want. |
|---|
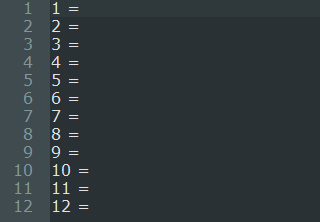
Mapping LogicLet's get something to keep record. You can do this on a piece of paper or on your computer doesn't really matter. I'll use Notepad++.
In my case Bob was in the 11st hole and escaped to number 4. I'm adding this to my notepad: 11 = >4 (11 escapes to 4) When i try to grab him again he escaped to number 2. Since he was in 4 this time, im noting this as 4 = >2 (4 escapes to 2)
WARNING! Now that Bob is in the third hole i must remove the board from number 4 because there is a chance that is an escape route of the third hole. If thats the case he can't use it with the board there and i won't be able to note this information. Also doing this ensures you can complete the hunt with 3 boards total. Now that i know 11 = >4 >3, next time Bob visits 11 i'll board both 4th and 3rd holes so he escapes to somewhere new. If he can't escape to more than 3 places from 11st hole i can catch him here. All i have to do is move him to 11 again by using my notes, block all 3 escape routes he has and try to grab him again. He won't be able to run this time. |
|---|
If you are lucky you might not have to look for THE hole that long. I was able catch Bob at hole 11 (first hole i mapped with 3 escapes) while writing this guide under an hour.
1 = 9
2 = 7 > 5
3 = 10
4 = 11
5 = 2 > 4
6 =
7 = 12
8 =
9 = 4
10 = 1
11 = 4 > 3 > 12
12 = 5	> 11
That is all for now. Happy hunting :)


